Fail to prepare, prepare to fail! Today we will be thinking about the steps you should take BEFORE you start setting up the next monthly spread in your Bullet Journal.
1. Set aside some time
If you want your Bullet Journal to be a creative hobby as well as functional tool then you are going to need to set aside some time so you can enjoy the process.
If possible, book some time into your month to sit down and set up your journal spreads for the month ahead.
2. Think about your needs and wants for the month ahead
In my opinion, the biggest advantage of using the Bullet Journal system over a pre-printed planner is the ability to flex and change your layouts depending on the demands of your life at any given moment.
Before you begin your monthly journal setup, think about how your journal can support you through the month. Do you have any specific projects or challenges you are working on, and will you need to capture this in your journal?
3. To theme, or not to theme
Incorporating themes into spreads is hugely popular in the Bullet Journal community.
Your theme may last for the entirety of your journal, or may change on a month-by-month or even spread-by-spread basis.
This is entirely optional, and you can, of course, stick to a minimalist approach with a single pen and your journal, or add decoration without any theme in mind!
Stuck for inspiration? We have created a free printable with 80 theme ideas that you can download here!
4. Make a plan
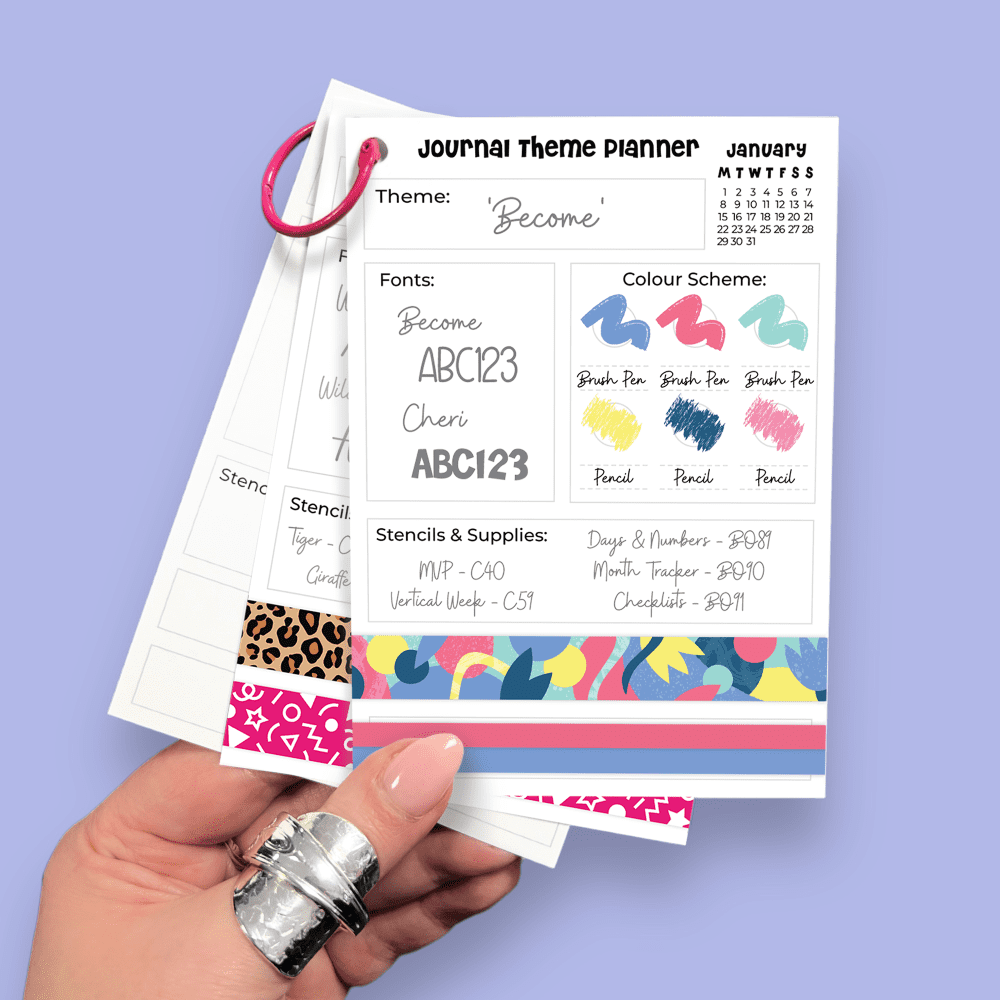
Once you know what you want to include in your monthly Bullet Journal setup, it’s a good idea to sketch out a plan.
We include handy theme planner cards in our Quarterly Subscription that can be used to plan out your spreads, supplies and themes.
5. Prep your supplies
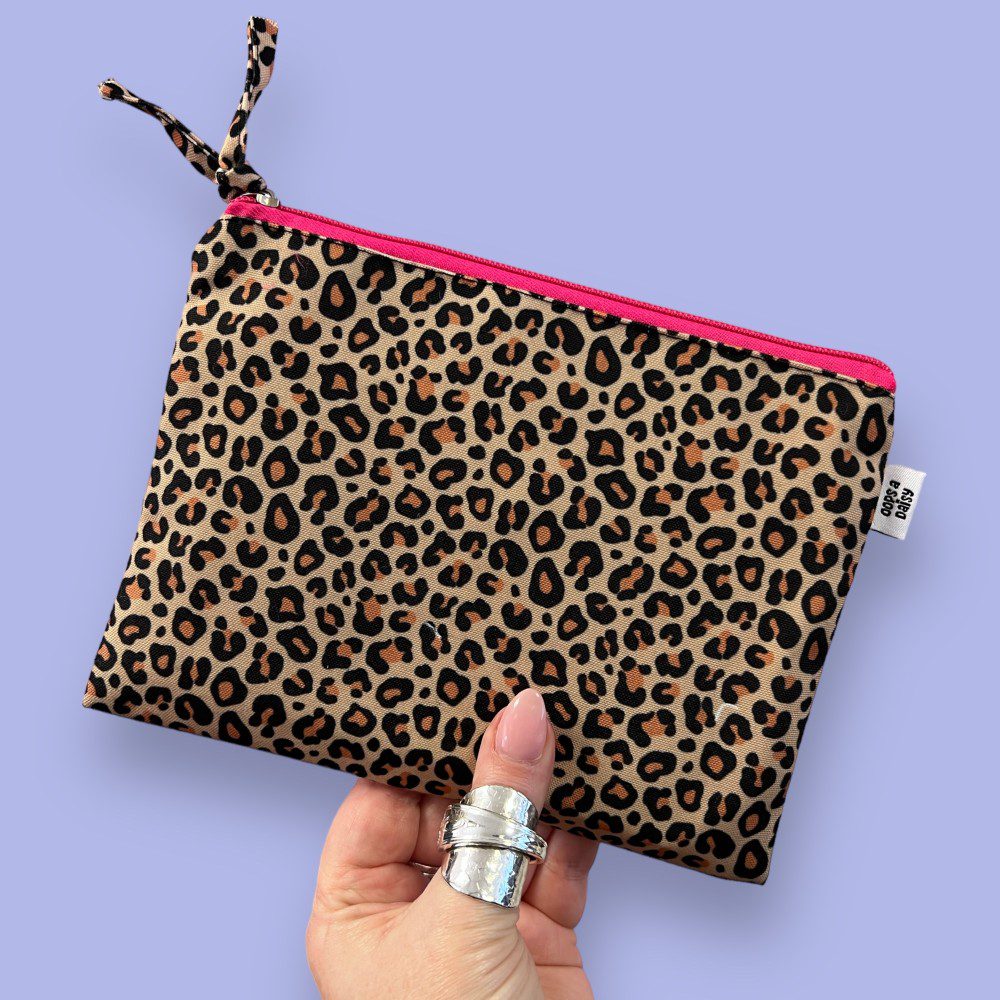
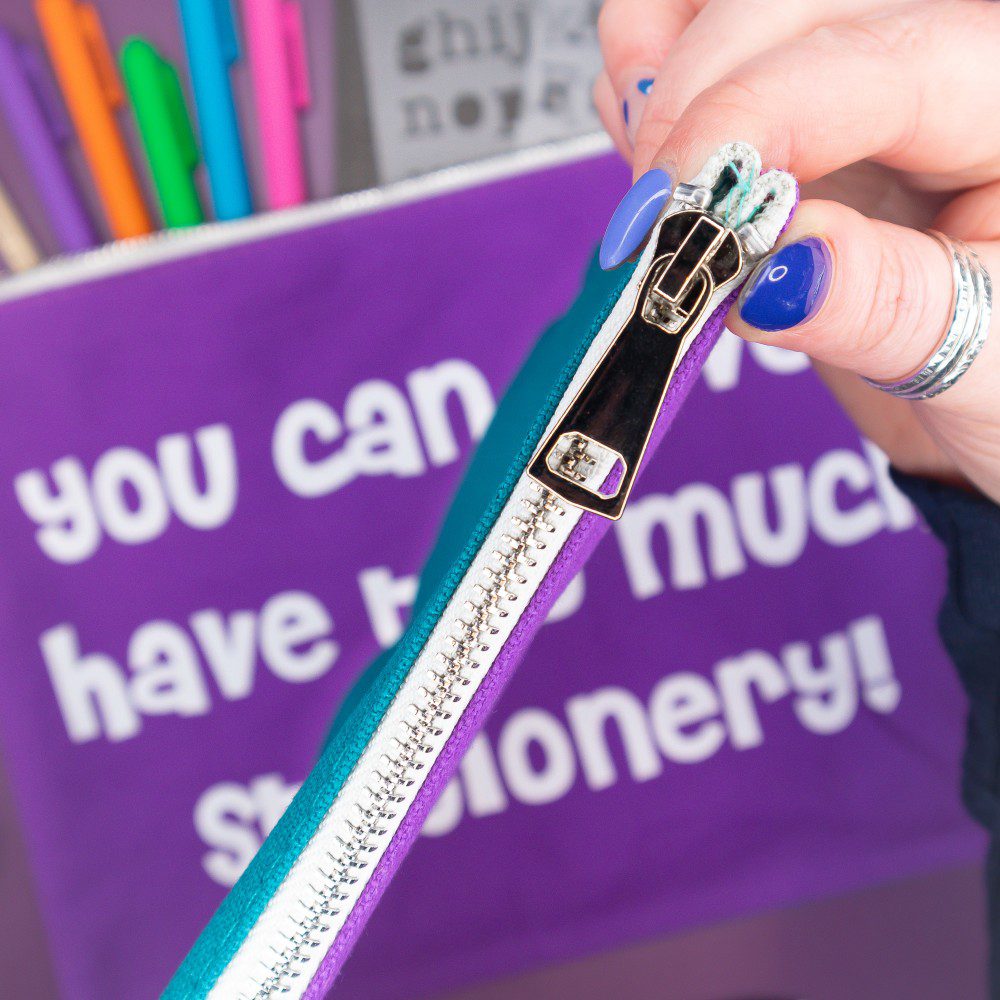
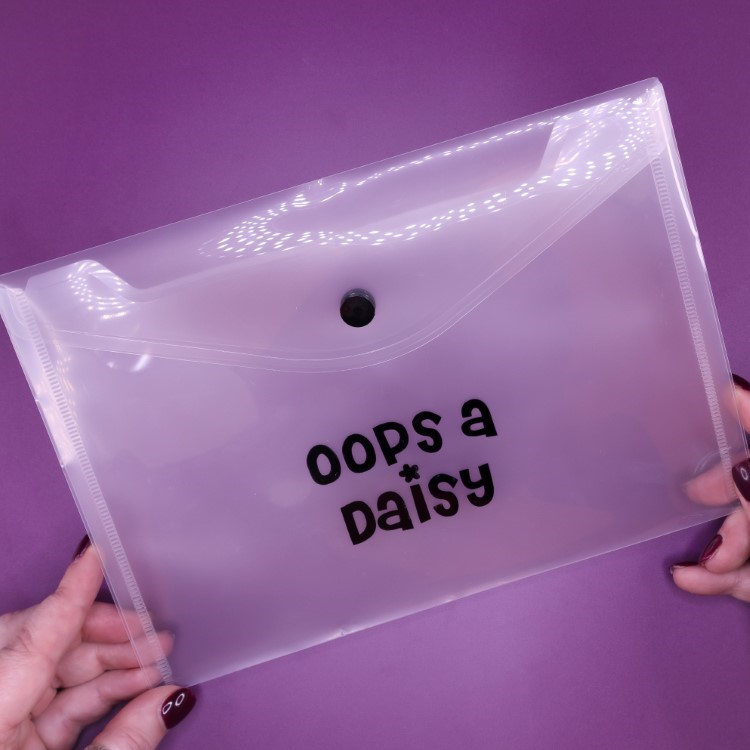
Once you have a plan, collect together all the supplies needed (pens, pencils, Washi tape, stickers and stencils) and place them together in a case or wallet. This will make set-up so much easier and will allow you to easily add to your spreads as the month goes on!
6. Pencil it out
The last step to prepare your journal is to pencil a rough layout directly into your journal. This allows you to test out heading placement and spread layout, getting everything as you want it to be, before you finally put pen to paper!
Want Bullet Journal Inspiration?
Check out this playlist, of some of our favourite monthly setups, over on the Oops a Daisy YouTube channel.
Join us to set up your next journal!
Check out “Journal With Oops a Daisy” a 6 week programme to support you through journal set-up and beyond!
The programme is totally free to join with a small donation* to our chosen charity: St Clare Hospice, Hastingwood via our Just Giving page.
*No minimum, give what you can afford. Access to the resources is granted for 12 weeks after sign up.
One thought on “6 Steps To Complete BEFORE Putting Pen to Paper on Your Monthly Bullet Journal Setup!”